Setting stop loss orders is crucial for protecting your trading capital and ensuring consistent risk management. This guide provides actionable strategies to place stops intelligently, moving beyond arbitrary levels to support informed trading decisions.
Why Stop Losses Matter in Trading
As traders, we all aim for profits, but surviving in the market requires a robust defense against losses. A stop loss order is your primary line of defense. It automatically exits a trade when it moves against you by a predetermined amount, preventing small losses from becoming catastrophic ones. Without a stop loss, a single bad trade can wipe out weeks or months of gains, or even deplete your entire account. Think of it like wearing a seatbelt; you hope you never need it, but its presence significantly mitigates the impact of a severe accident. For beginners, it's easy to get caught up in the excitement of potential gains and overlook the necessity of loss limitation. Experienced traders, however, understand that preserving capital is paramount to long-term success. It allows you to stay in the game, learn from your trades, and wait for better opportunities.
Consider the difference between two hypothetical traders:
Scenario 1: Trader A (No Stop Loss)
Situation: Buys EURUSD at 1.1000, expecting it to rise. The pair drops to 1.0950. Trader A holds, hoping for a rebound. It falls further to 1.0800. The position is eventually closed manually at a loss of 200 pips, significantly impacting their account.
Scenario 2: Trader B (With Stop Loss)
Situation: Buys EURUSD at 1.1000, setting a stop loss at 1.0970 (30 pips). The pair drops to 1.0970. The stop loss is triggered, exiting the trade with a manageable 30-pip loss.
Recommended Option: Trader B's approach of using a stop loss limits potential damage.
Alternative Option: Trader A's decision to not use a stop loss, hoping for a recovery, is a high-risk strategy.
What to Avoid: Holding losing positions without a predefined exit point.
Explanation: The defined stop loss in Scenario 2 prevented a devastating loss, allowing Trader B to continue trading with their capital intact.
Common Pitfalls in Setting Stop Losses
Many traders fall into traps when placing their stop losses, often based on gut feeling rather than analysis. One common mistake is setting stops too tight. If your stop is only a few pips away from your entry, minor market noise or spread expansion can trigger it prematurely, causing you to exit a trade that would have otherwise become profitable. This often leads to frustration and a feeling of being 'stopped out' unfairly. Conversely, setting stops too wide is equally problematic. A stop placed too far away might allow a trade to develop, but it also exposes your capital to excessive risk. If the market does turn against you, the loss could be substantial, negating the benefit of even having a stop in place. Another frequent error is moving a stop loss further away from the entry price when a trade is losing - a practice known as 'widening the stop'. This is a clear sign of emotional trading, an attempt to avoid admitting a mistake rather than adhering to a pre-set risk plan. Remember, your stop loss should be determined before you enter the trade.
Let's examine a scenario:
Scenario: Overly Tight Stop Loss
Situation: A trader buys Apple stock (AAPL) at $170, setting a stop loss at $169.50 (0.3% below entry). AAPL experiences a brief dip to $169.70 due to general market sentiment before rallying to $175. The trader is stopped out prematurely at $169.50, missing the subsequent profitable move.
Recommended Option: Set stops based on market structure or volatility, not just a fixed pip/percentage value.
Alternative Option: Setting stops based on a fixed, small percentage from entry.
What to Avoid: Placing stops so close that minor fluctuations trigger them.
Explanation: A stop too close to entry is susceptible to random price action, forcing exits from potentially good trades.
Stop Loss Placement Strategies
Effective stop loss placement leverages objective market data rather than subjective opinion. One widely used method involves using technical analysis, such as support and resistance levels. If you buy a stock at $50 and it breaks above a resistance level that now acts as support at $49, placing your stop loss just below this new support level (e.g., $48.75) makes logical sense. It suggests that if the price falls back below this identified support, the bullish momentum may be broken. Another powerful technique uses Average True Range (ATR). ATR measures market volatility. You can set your stop loss at a multiple of the ATR value away from your entry price. For example, if the 14-period ATR for EURUSD is 20 pips, you might set your stop loss 1.5 or 2 times the ATR below your entry for a long position. This method dynamically adjusts your stop based on current market conditions, making it more robust than fixed-pip stops.
Consider these approaches:
| Method | Description | Best For | What To Avoid |
|---|---|---|---|
| Support/Resistance | Placing stops just beyond key technical levels. | Trend following, breakout trades. | Ignoring the context of the level (e.g., frequency of touches). |
| ATR (Volatility Based) | Using a multiple of ATR to set distance. | All market conditions, especially volatile ones. | Using a fixed ATR multiple across all assets. |
| Moving Averages | Setting stops below a significant moving average (e.g., 50-day MA). | Medium to longer-term trend trades. | Blindly following MAs without confirmation. |
| Chart Patterns | Placing stops beyond pattern invalidation points (e.g., below a head and shoulders neckline). | Pattern traders. | Setting stops arbitrarily within the pattern structure. |
| Fixed Percentage | Risking a fixed percentage of capital per trade. | Risk-averse traders, simple risk calculation. | Ignoring price action and market structure. |
| Fixed Pips/Points | Using a set number of pips or points. | Scalpers, short-term traders with consistent ranges. | Using this in highly volatile or trending markets without adjustment. |
| Round Numbers | Using psychological levels (e.g., 1.2000 for EURUSD) as zones. | Short-term trades near key levels. | Assuming round numbers will always hold support/resistance. |
Risk Per Trade Calculation for Stop Placement
The amount of capital you risk on any single trade is a cornerstone of sound risk management. Before even considering where to place your stop loss, you must decide your maximum acceptable loss for that trade, typically as a percentage of your total trading capital. For instance, if you have a $10,000 account and decide to risk 1% per trade, your maximum loss for any given trade is $100. This $100 figure then informs your stop loss placement. If you are trading gold (XAUUSD) and enter a long position at $2300 per ounce, and your analysis suggests a stop loss should be placed at $2280, that's a $20 difference. If your maximum risk is $100, you can only afford to trade 5 ounces ($100 / $20 per ounce = 5 ounces). This calculation ensures that even if your stop loss is triggered, the loss remains within your predefined risk parameters. It's crucial to perform this calculation before entering the trade and determining the position size, which is directly linked to your stop loss distance.
Let's walk through a calculation:
Scenario: Calculating Position Size Based on Risk and Stop Loss
Situation: You have a $5,000 trading account and decide to risk 0.5% per trade. You identify an entry point for GBPJPY at 198.50 and a logical stop loss level at 197.00. The stop loss distance is 150 pips (198.50 - 197.00). Your maximum risk in JPY terms needs to be calculated (0.5% of $5,000 = $25). If the pip value for your chosen lot size is, say, $10 per pip for a standard lot, a 150-pip stop would mean a $1500 loss ($10/pip 150 pips), which is far too high.
Recommended Option: Adjust position size downwards to match risk tolerance. For a $25 maximum risk and a 150-pip stop, you'd need a much smaller position size (e.g., micro lots) where the loss per pip is significantly less.
Alternative Option: Increase your stop loss distance significantly to accommodate a larger lot size.
What to Avoid: Trading with a larger position size than your risk calculation allows, leading to excessive potential loss.
Explanation: Correctly calculating position size based on risk tolerance and stop loss placement is fundamental to capital preservation.
Trailing Stops: Adapting Your Protection
Once a trade moves in your favor, you can employ a trailing stop loss. Unlike a static stop loss that remains at its initial level, a trailing stop automatically adjusts upwards (for long positions) or downwards (for short positions) as the price moves favorably. This mechanism serves a dual purpose: it locks in profits and continues to protect against a potential reversal. For instance, if you buy EURUSD at 1.0800 with a 50-pip trailing stop, and the price rises to 1.0850, your stop loss would move up to 1.0800 (your entry price), guaranteeing you won't lose money on the trade. If the price then advances to 1.0900, your stop would trail up to 1.0850. If the price reverses from 1.0900, your trailing stop at 1.0850 would be hit, securing a 50-pip profit. The key is to set the trailing distance appropriately - too tight and it might be triggered by normal fluctuations; too wide and it sacrifices potential gains.
Here's an example:
Scenario: Implementing a Trailing Stop
Situation: A trader enters a long position on Bitcoin (BTCUSD) at $65,000 with a 3% trailing stop. The price rallies to $68,000. The trailing stop automatically adjusts to $66,000 ($68,000 0.97). Bitcoin then surges to $70,000. The stop moves to $67,900 ($70,000 0.97).
Recommended Option: Use trailing stops to lock in profits while maintaining downside protection as a trade progresses.
Alternative Option: Manually move stop losses incrementally as price moves favorably.
What to Avoid: Setting the trailing stop distance too tight, which can lead to premature exits and missed profit targets.
Explanation: Trailing stops automate the process of securing profits and adjusting risk as a trade unfolds favorably.
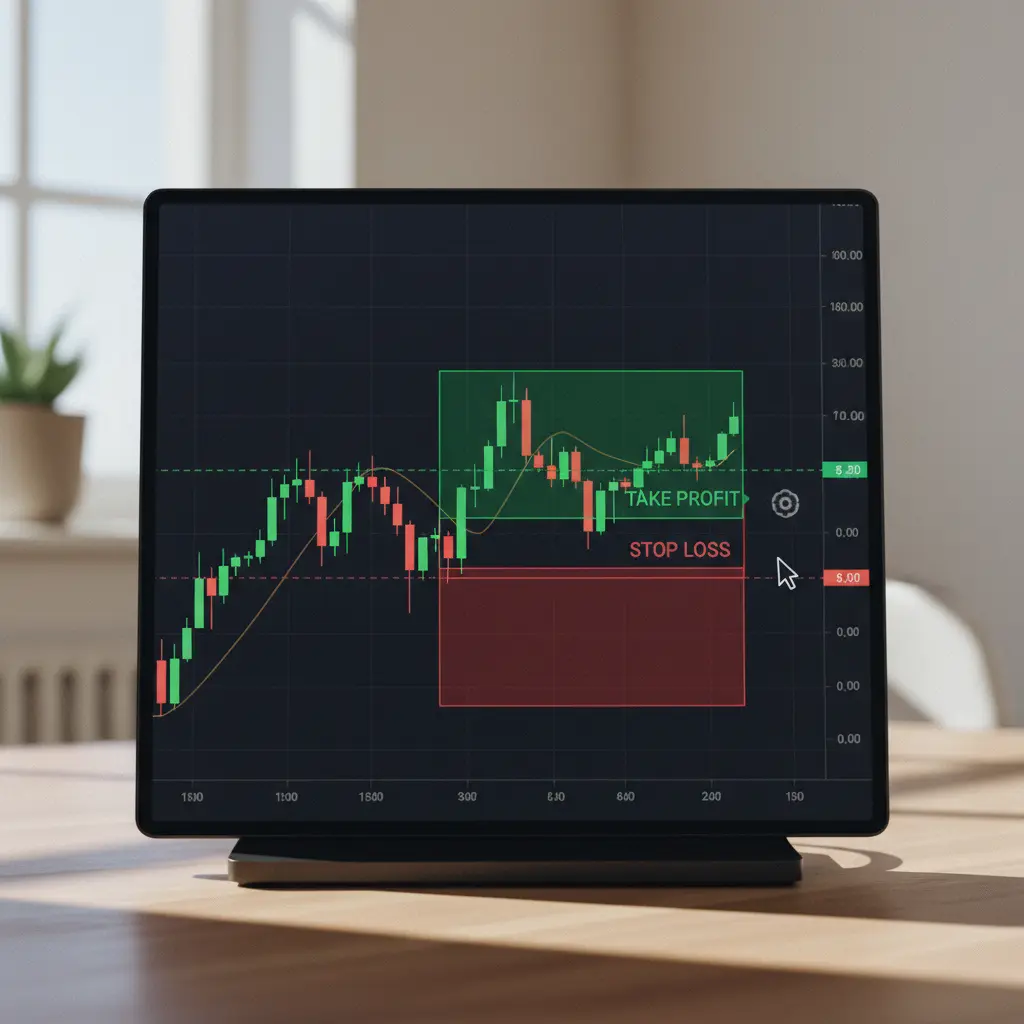
Stop Loss Orders vs. Take Profit Orders
It's important to distinguish between stop loss and take profit orders, as both are essential components of a trading plan. A stop loss order is designed to limit your potential losses. It triggers an exit when the price reaches a specified level that is unfavorable to your position. A take profit order, conversely, is designed to lock in profits. It triggers an exit when the price reaches a specified level that is favorable to your position. For example, if you buy USDCHF at 0.9000, you might set a stop loss at 0.8950 (a 50-pip loss limit) and a take profit at 0.9100 (a 100-pip profit target). Both orders are placed simultaneously with your entry. The market then dictates which order is hit first. This pre-defined risk-reward structure is fundamental to systematic trading and takes emotion out of the exit decision.
A quick comparison:
Scenario: Stop Loss vs. Take Profit Application
Situation: You go long on AUDUSD at 0.6600, setting a stop loss at 0.6570 (-30 pips) and a take profit at 0.6680 (+80 pips).
Recommended Option: Set both stop loss and take profit orders at the time of trade entry to define your risk-reward ratio.
Alternative Option: Only set a stop loss and manually exit when you feel profits are sufficient.
What to Avoid: Relying solely on manual exits without predefined profit targets.
Explanation: Using both stop loss and take profit orders creates a balanced trading plan with clear entry and exit criteria.
Automating Your Risk Management
Modern trading platforms offer tools that can automate aspects of stop loss placement and management. Many brokers allow you to place your stop loss order simultaneously with your market or limit entry order. Advanced order types like One-Cancels-Other (OCO) orders are particularly useful. An OCO order combines a stop loss order and a take profit order. If either order is executed, the other is automatically canceled. This streamlines the process of setting both your loss-limiting and profit-taking exits simultaneously. For algorithmic traders or those using expert advisors (EAs), stop loss levels can be hard-coded into the trading logic. When using automated tools or EAs, it's vital to understand how they manage stops and to test them thoroughly. Regularly reviewing your automated risk settings and ensuring they align with your overall trading strategy is key. Consider exploring risk management tools available on platforms like MetaTrader 4/5 or TradingView, which often integrate with broker functionalities to execute these orders efficiently.
Here's a practical application:
Scenario: Using OCO Orders
Situation: A trader wants to enter a short position on USDJPY at 155.00. They want to limit losses to 40 pips and target 100 pips in profit. They place a limit order at 155.00, attached to an OCO order that includes a stop loss at 155.40 and a take profit at 154.00.
Recommended Option: Utilize platform features like OCO orders to automate the placement of both stop loss and take profit targets.
Alternative Option: Manually place separate stop loss and take profit orders after entry.
What to Avoid: Forgetting to place or adjust stop loss and take profit orders after executing a trade.
Explanation: Automated order types simplify and ensure the simultaneous placement of critical exit orders, reinforcing risk discipline.
Integrating Stop Losses with Trading Journals
A trading journal is an indispensable tool for any serious trader. It's where you record every trade, including the rationale for entry, exit, and importantly, your stop loss placement. After a trade is closed, whether by stop loss or take profit, you should review its performance in your journal. Was the stop loss placed correctly according to your strategy? Did market conditions change, necessitating an adjustment (which should be pre-defined in your rules, not an emotional reaction)? Analyzing trades where your stop loss was hit can reveal patterns in your strategy or execution. Perhaps your stop was too tight for a particular currency pair's typical volatility, or maybe the support level you used wasn't strong enough. Conversely, trades that hit their take profit target after triggering a trailing stop can be examined to see how effectively the trailing mechanism captured gains. Regularly reviewing your journal entries related to stop losses helps refine your strategy and improve your decision-making process over time. This methodical approach ensures that your stop loss strategy evolves with your trading experience.
Let's see how journaling helps:
Scenario: Journaling Stop Loss Performance
Situation: A trader notices in their journal that 70% of their losing trades in the last month were closed by their stop loss being hit within the first hour of entry. Their average stop loss distance is 40 pips.
Recommended Option: Re-evaluate the initial stop loss placement strategy, considering if stops should be set based on volatility or market structure to allow trades more time to develop before hitting a tight stop.
Alternative Option: Continue using the same stop loss strategy, accepting the frequent early exits as part of the process.
What to Avoid: Ignoring recurring patterns in stop loss executions as indicated by trading journal analysis.
Explanation: Journaling stop loss effectiveness provides critical data for strategy refinement and improving risk management over time.
To further refine your trading strategy and risk management, consider exploring our guides on comprehensive risk management principles and the importance of maintaining a detailed trading journal. For tools that can assist in portfolio analysis, visit our portfolio analysis tools section.
Step-by-step trading workflow
Setting Stop Loss Orders: A Practical Guide for Traders works better when the process is explicit. Use a short ordered checklist before you act.
- Define the setup and the exact reason it is on your radar.
- Measure the downside first, including stop distance and position size.
- Check whether the reward and market context still justify the trade.
- Log the plan so execution can be reviewed after the outcome is known.
Related reading: trading risk management | risk reward ratio | how to use a trading journal