
Effective risk management is the bedrock of sustainable trading success. It's not about eliminating losses, which is impossible, but about controlling them so you can stay in the game long enough to profit. This guide outlines key strategies to protect your trading capital.
Why Risk Management Matters More Than Your Next Big Win
Many new traders focus solely on finding the next profitable trade, often ignoring the critical element of risk. Many new traders focus solely on finding the next profitable trade, often ignoring the critical element of risk. Without a solid risk management plan, even a series of winning trades can be wiped out by a single large loss. Think of it like building a house; the foundation must be solid before you worry about the roof. In trading, that foundation is your risk control. A well-defined plan helps you manage emotions, stick to your strategy, and ensure longevity in the markets. It turns trading from a gamble into a calculated profession.
For instance, a trader might consistently make small profits but then suffer one devastating loss that erases months of gains. This often happens because they didn't define how much they were willing to lose on that particular trade, or overall. A 1% risk rule per trade, for example, means a single loss, no matter how bad, only impacts 1% of your total capital. This prevents catastrophic drawdowns and keeps you psychologically in the game to execute your next planned trade.
Defining Your Risk Per Trade: The 1% to 2% Rule
The most common and effective risk management technique is limiting the amount of capital risked on any single trade. The most common and effective risk management technique is limiting the amount of capital risked on any single trade. A widely accepted guideline is to risk no more than 1% to 2% of your total trading account on any given trade. This isn't a rigid law, but a strong principle.
Let's illustrate: If you have a $10,000 trading account, risking 1% means you are willing to lose $100 on that specific trade. If you risk 2%, you're willing to lose $200. This dictates your position sizing. If you're trading a stock at $50 and decide your stop-loss will be $2 below the entry price (a $2 risk per share), then at a 1% risk ($100), you would buy 50 shares ($100 / $2 per share = 50 shares). If you were to use a 2% risk ($200), you could buy 100 shares ($200 / $2 per share = 100 shares).
Scenario 1: High-Risk Trade
- Situation: A trader has a $5,000 account and decides to risk 5% on a single trade, placing a stop-loss that could result in a $250 loss.
- Recommended Option: Adjust position size or stop-loss to align with the 1-2% rule.
- Alternative Option: Accept the higher risk, understanding it significantly increases the chance of a substantial drawdown.
- What to Avoid: Consistently risking more than 2% per trade.
- Explanation: A single 5% loss on a $5,000 account means losing $250. If this happens repeatedly, the account balance depletes rapidly, making recovery extremely difficult.
Sticking to this rule prevents emotional decisions driven by fear of large losses. It ensures that a few losing trades, which are inevitable, do not cripple your trading capital. For more on this, explore our position sizing guide.
Stop-Loss Orders: Your Safety Net
A stop-loss order is an instruction to your broker to sell a security when it reaches a certain price. A stop-loss order is an instruction to your broker to sell a security when it reaches a certain price. It's a critical tool for automating risk management and ensuring you exit a losing trade without having to make an emotional decision in real time. Setting a stop-loss ensures that your predefined risk per trade is honored.
There are various ways to set stop-losses:
- Fixed Percentage Stop: Setting a stop-loss at a specific percentage below your entry price (e.g., 5% below).
- Support/Resistance Levels: Placing a stop-loss just below a key support level for long positions or just above a key resistance level for short positions.
- Volatility-Based Stop (e.g., ATR): Using the Average True Range (ATR) indicator to set a stop-loss a certain multiple of the ATR away from the entry price. This adjusts the stop based on market volatility.
Scenario 2: Using Technical Support
- Situation: A trader buys Apple (AAPL) at $170, noting a strong support level at $165.
- Recommended Option: Place a stop-loss order just below $165, say at $164.50.
- Alternative Option: Set a tighter stop-loss (e.g., $168) hoping to preserve capital if the price reverses quickly.
- What to Avoid: Placing the stop-loss too close to the entry price ($170) without technical justification, which can lead to being stopped out by normal market noise.
- Explanation: A break below the $165 support level would likely invalidate the bullish setup, so a stop there makes technical sense.
The key is to set the stop-loss based on a logical reason (technical analysis, volatility) rather than an arbitrary number. Always ensure your stop-loss is set before entering the trade.
Take-Profit Orders: Securing Gains
While stop-losses protect against downside, take-profit orders secure your gains. While stop-losses protect against downside, take-profit orders secure your gains. These are also pre-set instructions to exit a trade once it reaches a specific profitable price level. Implementing take-profit orders helps to avoid greed, which can lead to holding onto a winning trade for too long, only to see it reverse and give back profits.
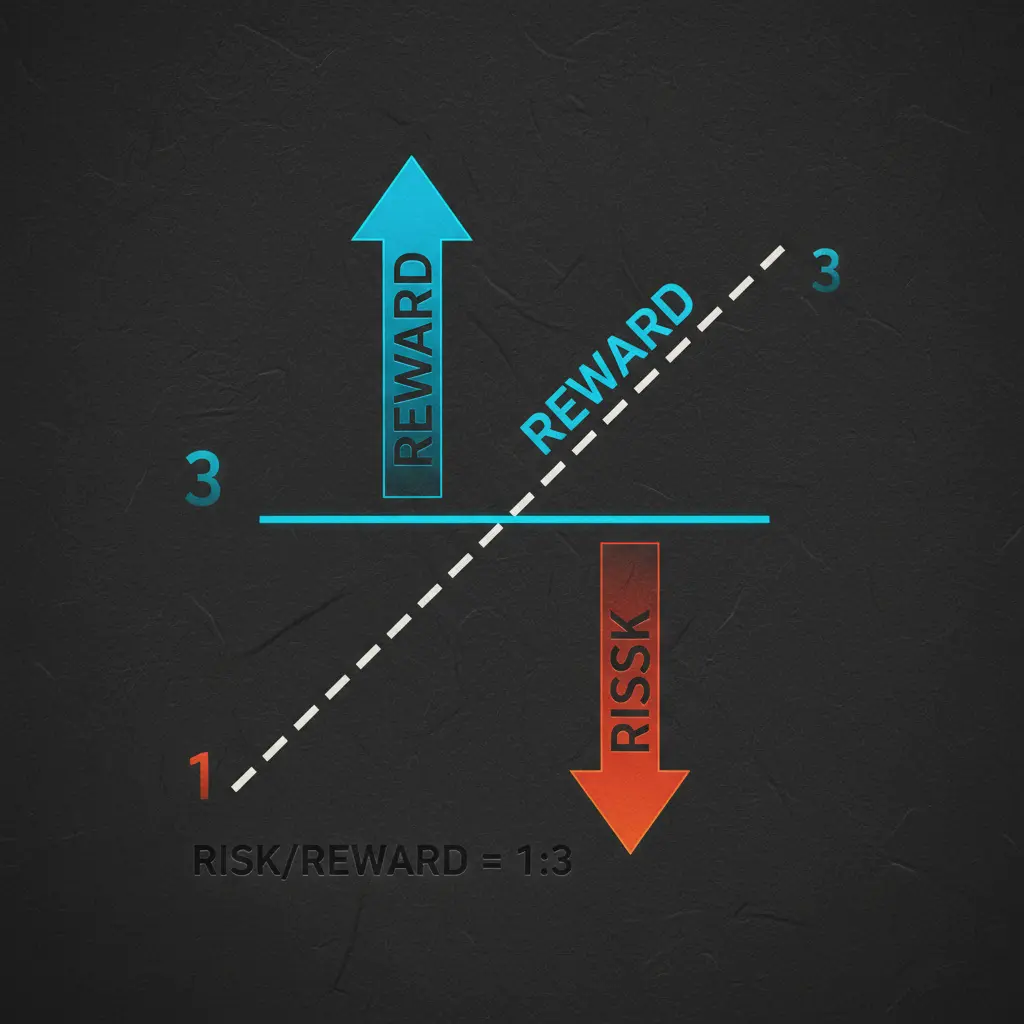
A common approach is to use a defined risk-reward ratio. If you're risking $1 per share on a trade and your stop-loss is set, you might aim for a profit of $2 or $3 per share (a 1:2 or 1:3 risk-reward ratio).
Scenario 3: Achieving a Target Profit
- Situation: A trader enters a long position on EUR/USD at 1.0850 with a stop-loss at 1.0800 (50 pips risk).
- Recommended Option: Set a take-profit order at 1.0950 (100 pips target) for a 1:2 risk-reward ratio.
- Alternative Option: Trail the stop-loss upwards as the price moves favorably, aiming for potentially larger gains but accepting the risk of smaller profits if the trend reverses.
- What to Avoid: Moving the take-profit target further away once the trade becomes profitable, hoping for an unrealistic move.
- Explanation: A 1:2 risk-reward ratio is a solid benchmark. If the trade moves as expected, the profit significantly outweighs the potential loss.
Table: Risk-Reward Ratio Application
| Trade Setup | Risk Per Share/Pip | Stop-Loss Level | Take-Profit Target (1:2 RR) | Take-Profit Target (1:3 RR) | Outcome if Target Hit |
| Stock Long Entry | $1.00 | $25.00 | $27.00 | $28.00 | + $200 profit (100 shares) |
| Forex Long Entry (EUR/USD) | 10 pips | 1.0900 | 1.0880 | 1.0870 | + 100 pips profit (1 lot) |
| Crypto Short Entry (BTC/USD) | $50.00 | $40,000 | $39,000 | $38,500 | + $1000 profit (20 units) |
| Stock Short Entry | $0.50 | $50.00 | $49.00 | $48.50 | + $50 profit (100 shares) |
| Forex Short Entry (GBP/JPY) | 15 pips | 190.00 | 189.70 | 189.55 | + 150 pips profit (1 lot) |
Diversification: Not Putting All Your Eggs in One Basket
While closely related to portfolio management, diversification within a trading strategy is also a form of risk mitigation. While closely related to portfolio management, diversification within a trading strategy is also a form of risk mitigation. This doesn't necessarily mean owning hundreds of different assets. It can mean not being overexposed to a single market sector, currency pair, or trading strategy.
For example, if you primarily trade tech stocks, a downturn in the tech sector could disproportionately affect your portfolio. Diversifying might mean adding positions in other sectors like healthcare, energy, or even different asset classes like commodities or bonds, if they fit your overall strategy. In forex, it means not trading only USD-based pairs; you might also trade EUR/GBP or AUD/JPY.
Scenario 4: Over-Concentration in a Sector
- Situation: A trader's portfolio consists of 80% in semiconductor stocks, following a major rally.
- Recommended Option: Gradually rebalance the portfolio to include positions in other sectors or uncorrelated assets.
- Alternative Option: Increase stop-loss levels on semiconductor holdings to buffer against potential sector-wide declines.
- What to Avoid: Having 80% of capital tied to the performance of a single industry.
- Explanation: A downturn in the semiconductor industry, due to supply chain issues or changing demand, could lead to significant losses across the majority of the trader's capital.
Diversification helps reduce the impact of adverse price movements in any single asset or market.
Leverage Management: The Double-Edged Sword
Leverage can amplify profits, but it equally amplifies losses. Leverage can amplify profits, but it equally amplifies losses. Many traders, especially in forex and crypto markets, use leverage. Understanding and managing it is crucial for risk control.
Using high leverage means a small price movement against your position can lead to a margin call or the liquidation of your position. For instance, trading with 100:1 leverage means a 1% adverse price move can wipe out 100% of your margin. This is why sticking to the 1-2% risk per trade is so vital - it inherently limits the effective leverage you're exposed to on any single trade.
Scenario 5: Misusing Leverage
- Situation: A trader with a $2,000 account uses 50:1 leverage to open a large forex position that represents 10% of their capital (risking $200). A sudden 0.5% move against them occurs.
- Recommended Option: Use leverage only to achieve desired position sizes within the 1-2% risk per trade rule, avoiding excessive leverage for the sake of 'big' positions.
- Alternative Option: Significantly reduce the trade size to keep risk per trade within limits, even if it means a smaller potential profit per trade.
- What to Avoid: Opening positions where the potential loss on a small adverse move exceeds 2% of capital, regardless of the leverage offered.
- Explanation: The 0.5% adverse move, amplified by 50:1 leverage, effectively results in a 25% loss on the $2,000 account ($500 loss on a $200 nominal risk). This is a critical lesson in how leverage magnifies losses.
Always understand the margin requirements and the true cost of leverage before placing a trade. You can learn more about how to manage your overall exposure in our portfolio analysis guide.
The Importance of a Trading Journal
A trading journal is more than just a log of your trades; it's an essential tool for risk management and self-improvement. A trading journal is more than just a log of your trades; it's an essential tool for risk management and self-improvement. By meticulously recording every trade, including entry/exit points, stop-loss/take-profit levels, reasons for the trade, and the emotional state during the trade, you gain invaluable insights.
Reviewing your journal allows you to identify patterns in your winning and losing trades. Are you consistently exiting winners too early? Are you hesitant to take losses? Are certain setups leading to higher probabilities of success or failure? This self-reflection is critical for refining your strategy and reinforcing disciplined risk-taking.
Scenario 6: Journaling Identifies a Bad Habit
- Situation: A trader reviews their journal and notices that 70% of their losing trades occurred because they moved their stop-loss further away from the entry price to avoid taking a loss.
- Recommended Option: Commit to never moving a stop-loss further away from the entry price, and consider tightening it if the trade moves favorably.
- Alternative Option: Set a rule to only move a stop-loss to breakeven once a certain profit target has been reached.
- What to Avoid: Letting emotions dictate stop-loss placement during a trade.
- Explanation: The journal provides objective evidence of a detrimental habit, enabling the trader to implement a strict rule to correct it. Explore our trading journal guide for more.
A robust trading journal helps you understand your performance objectively, leading to better risk-aware decisions. It's a fundamental tool for any serious trader.
Conclusion: Proactive Risk Control
Mastering trading risk is an ongoing process, not a destination. Mastering trading risk is an ongoing process, not a destination. By implementing strategies such as the 1-2% rule, using stop-loss and take-profit orders effectively, diversifying your positions, managing leverage wisely, and diligently reviewing your trading journal, you build a strong defense for your capital. These practices don't guarantee profits, but they significantly increase your chances of long-term survival and success in the markets.
Step-by-step trading workflow
Mastering Trading Risk: Essential Strategies for Protecting Capital works better when the process is explicit. Use a short ordered checklist before you act.
- Define the setup and the exact reason it is on your radar.
- Measure the downside first, including stop distance and position size.
- Check whether the reward and market context still justify the trade.
- Log the plan so execution can be reviewed after the outcome is known.
Start with the cluster hub. Read risk management guides first if you want the broader workflow behind this topic.
Use the matching tool. The risk calculator helps turn this guide into a usable decision before the trade.
Related reading: risk reward ratio | how to use a trading journal